DIY Egg Carton Planters
Thursday, April 11, 2024
Egg carton planters
Materials:
empty egg cartons
potting soil
seeds or seedlings
scissors
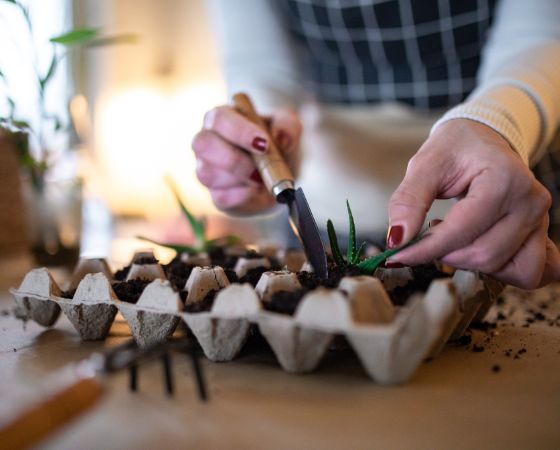
- Cut the lid off your egg carton and place the egg-holder part on a flat surface.
- Using scissors or a skewer, carefully poke small holes or cut slits in the bottom of each egg or egg carton cup for drainage. This will prevent water from accumulating and causing root rot. (Smaller children may need an adult to do this step for them.)
- Fill each egg cup with potting soil, leaving about half an inch of space from the top. Make sure the soil is evenly distributed and pack it down lightly.
- Plant seeds or transplant seedlings into each egg cup according to the planting instructions for the specific plant. Planting one type of plant per egg cup will make it easier to care for them. You can even write directly on the cardboard what you’ve planted in each cup.
- Lightly moisten the soil in each egg cup, being careful not to overwater.
- Place the egg carton planters in a sunny location to grow. Monitor the soil moisture regularly and water when the top layer feels dry to the touch.
- Once the seedlings outgrow the egg carton, separate each cup and carefully transplant into a larger pot or directly into the garden. The cup will break down into the earth as the seedlings grow!
Eggshell Planters
empty egg shells (carefully cracked near the top to leave the shell mostly intact)
empty egg carton for storing the eggshell planters
potting soil
seeds or seedlings
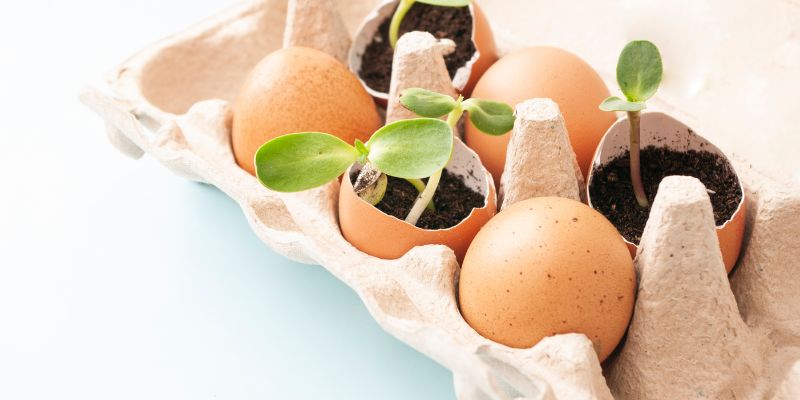
The process for eggshell planters is very much the same as for egg carton planters, with a few notable exceptions:
- You must drain your eggs and may need to remove the thin membrane inside the egg wall.
- Exercise care when poking the drainage hole so the shell keeps its shape.
- Once the seedlings outgrow the eggshell, crack the shells a little before placing them in the ground/planter to help the roots break through – eggshells are remarkably strong!


